


The Division: A Guide to Surviving the Dark Zone Solo
by Mark R
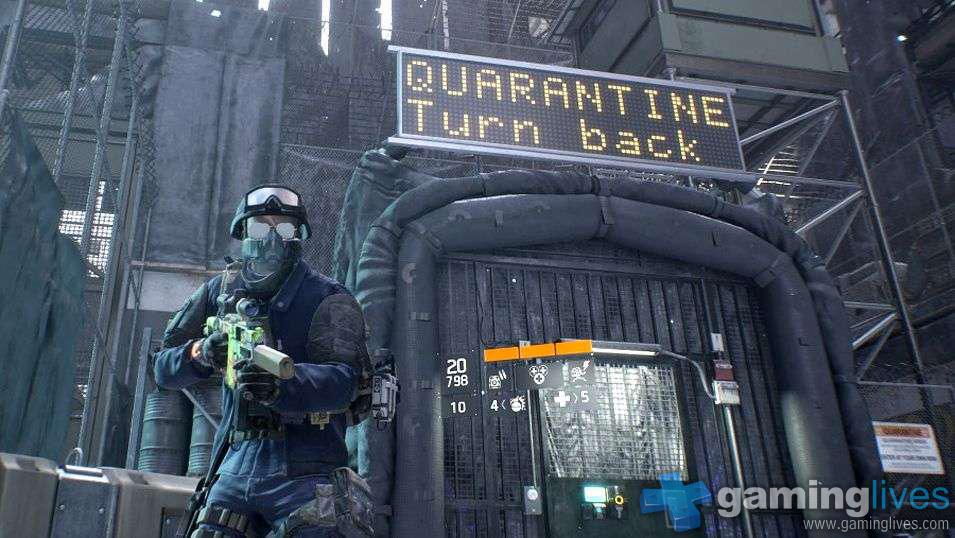 Not being one for MMOs, PVP, or anything that involves playing with those I’ve never met, it was with some trepidation that my co-op partner and I wandered in to The Division‘s Dark Zone for the first time. It wasn’t a planned affair, and the decision to enter came only because we found ourselves standing outside one of the gated checkpoints after completing an encounter. The problem with that was that we entered at DZ03 rather than dipping our toes into the heavily infected, yet calmer, waters of DZ01. Our progress was hesitant at first, going from cover to cover without ever leaving ourselves in the open, as we’d heard that it was a dangerous and unpleasant place to be. After three or four minutes of no confrontations whatsoever, we got a little blasé with the whole thing and ran down the middle of each street as though we owned the place.
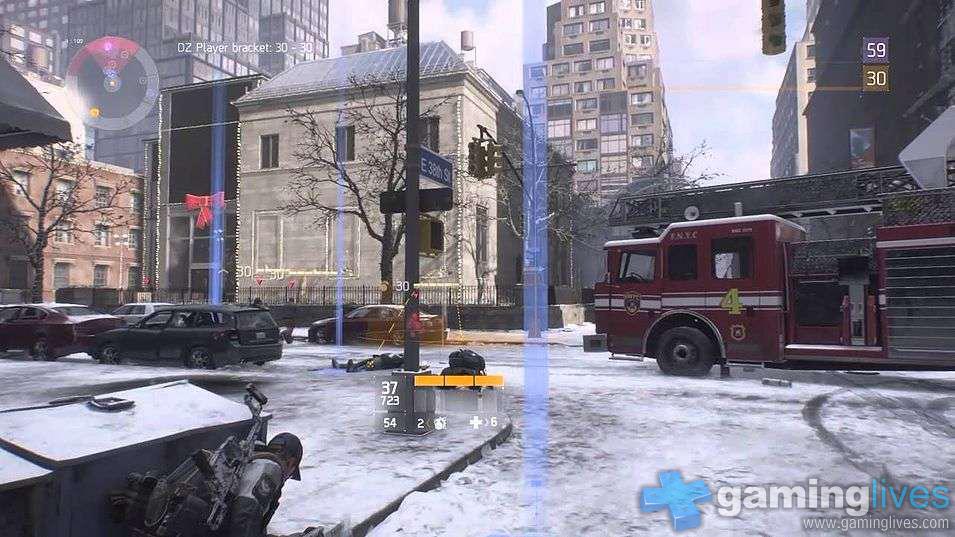
It wasn’t long before small clusters of rioters would appear, and we’d carefully pick them off from a distance so as not to engage with their baseball bats or shotguns at close range. It was exhilarating, even though, in retrospect, taking down enemy mobs in the Dark Zone is no different to doing it in the standard PVE area of Massive’s plague-ridden New York City. The only real difference was that they were a higher level, there was no natural light (even though there doesn’t appear to be a ceiling), and if it hadn’t been for the hype of how dangerous it all was, I don’t think we’d have given it a second thought. Until we attempted to extract our meagre pickings at the Bryant Park extraction zone – as soon as that flare went up, the diseased cockroaches came scuttling out of the cracks and made sure we understood why the Dark Zone wasn’t somewhere you ventured until you knew what you were doing. It was a while before we went back, needless to say. The thing is, playing it solo for even half an hour a day, you quickly learn the best ways to survive. This isn’t a definitive ‘Do This And You Will Survive‘ guide, but it’s how I manage to do it…
Plan Your Skills
In the PVE area of New York, you’d be forgiven for throwing all your skills and talents at damage, but in the Dark Zone it’s all about staying alive when those mobs descend upon you and getting a fighting chance at survival if one or more decide to go rogue. Having the ‘Survivor Link’ signature skill is probably going to help you to survive more than the ‘Recovery Link’. Sure, you’ll heal quicker with recovery but what’s the point of that if there’s a bunch of rogues driving bullets into your brain, as they’re going to take you down regardless. When you pop the survival option, you take less damage and move quicker, so those enemies will never catch you and the rogues will likely have already blown their signature load trying to maintain their rogue status.
For my primary skill, I tend to go with ‘First Aid’ and will either arm it with ‘Overdose’, which pretty much guarantees an overheal and helps when reloading under fire, or the ‘Booster Shot’ mod, as this will still heal you but will also grant you additional weapon damage and that can mean the difference between taking an enemy down with a single clip, or having to reload mid-stream.
 As a secondary skill, if you don’t have the option to remove status effects on your weapons, then it’s a good idea to have a support station skill armed with the ‘Immunizer’ mod so that you’re immune from status effects whenever you’re within its radius. This is not only important when avoiding the many incendiary grenades that the mobs will undoubtedly throw your way, but there’s also a good chance that rogues will thrown down a turret or grenade with shock damage, rendering you useless long enough for them to unload a clip or two into your face. Having ‘Immunizer’ will at least give you a fighting chance to think on your feet and remain alive as long as possible without the threat of becoming a vertical vegetable.
Planning your heals well and understanding when and how to avoid a status effect means that you can free up your secondary slot for something which helps in combat, such as the ‘Sticky Bomb’ with the ‘Flashbang’ mod enabled. Considering most enemies will approach you in a cluster, and will almost certainly start from a huddled formation, this is a great way to take down multiples in quick succession. It can be fired very accurately from a safe distance and gives you enough time to engage the enemies while they’re still disoriented and unable to return fire for a few seconds. With the right weapon, you can easily take down an entire group of veterans without even using a single clip. Using ‘Pulse’ with the ‘Scrambler’ mod will also help you to know who is around, where they are, and what sort of threat they pose.
Talents are really down to your own play style, and I tend to have a different set for missions than I do in the Dark Zone so that I can switch focus between damage and survival. In the Dark Zone, my talents are set up as ‘Adrenaline’, ‘Critical Save’, ‘Strike Back’, and ‘One is None’. While these should be pretty self explanatory, I’ll quickly expand on them by saying that ‘Adrenaline’ is helpful when engaging enemies for the first time, as it allows you to take more damage and potentially take them out without eating into your own health bar. If you’re waiting for your ‘First Aid’ skill to cool down and you’re taking heavy fire, using ‘Strike Back’ will speed up the process while in low health, and ‘Critical Save’ will allow you to take 40% less damage after using a medkit. So if you take cover while you’re down in the first health bar, your cool-down will speed up, and if you pop a medkit immediately before you enter the second health bar then you’ll be able to survive the onslaught a little longer.
You can play around with your skills and talents here: http://calculator.thedivision.rocks/#!/skills

Avoid Enemy Damage, Especially Rogues
If you turn a corner and start taking fire, your first instinct is to fire back, but this may not be the best idea. Enemies can be dealt with inside the Dark Zone in the same way as you would outside – run and gun if you’re skilled enough and have decent weaponry, or by using cover and planning shots. With rogues, however, it’s never that simple. For a start, they’ll likely be co-ordinating every move to drive you into a specific area so they can take you down quicker, or they’ll focus a combined attack so that you stand no chance at survival. If it’s rogues, and you’re not comfortable taking them on (otherwise you wouldn’t be reading this), then just run. Avoid running to a safe house, because you’ll never get in as long as the engine believes you’re still in combat and this could leave you cornered.
 Run to an area that you know is populated by enemies, such as a landmark, or a spawn point. While it may seem like a ridiculous idea, it goes back to the old adages of ‘safety in numbers’ and ‘the enemy of my enemy is my friend’. Sure, you’re going to come under fire, but then so are they. If you’re able to dodge and weave enough as you run through them, you’ll undoubtedly find a corner to duck around in a matter of seconds, and that leaves your rogues running into a crowd of cross-fire that’ll hide your whereabouts long enough for you to place a safe distance between them and you. This is where ‘Overdose’ and ‘Adrenaline’ serve their purpose well, as popping the skill or a medkit will give you enough of an overheal to get through the enemies without compromising too much of your health.
It’s also important to understand that most rogues are opportunists and would much prefer that you stand still, or position yourself behind cover than actually move around, so don’t ever stop running until you know for sure that you’re safe, and never run in a straight line as that gives them a perfect line of fire. Dodge and weave, jump over obstacles, run behind shipping containers, and even turn into alleys or stores if you know for sure that they open out at the other end and you’re not going to be trapped. If you armed the ‘Pulse’ skill, then pop it once you feel you’re far enough away from them, but be wary even if you see regular non-hostiles on the radar as it could be that their rogue status has cooled down and there’s nothing to stop them turning on you again. I’ve also watched a gang of four rogues run into the same street as me (I miscalculated and thought I was running to a checkpoint, but it was the dead end immediately before it) and give up as they couldn’t find me, despite me being crouched between a bin and a car… because my weapons weren’t skinned and my clothing was as grey as I could possibly get it. It was quite comical, really.
Strategise
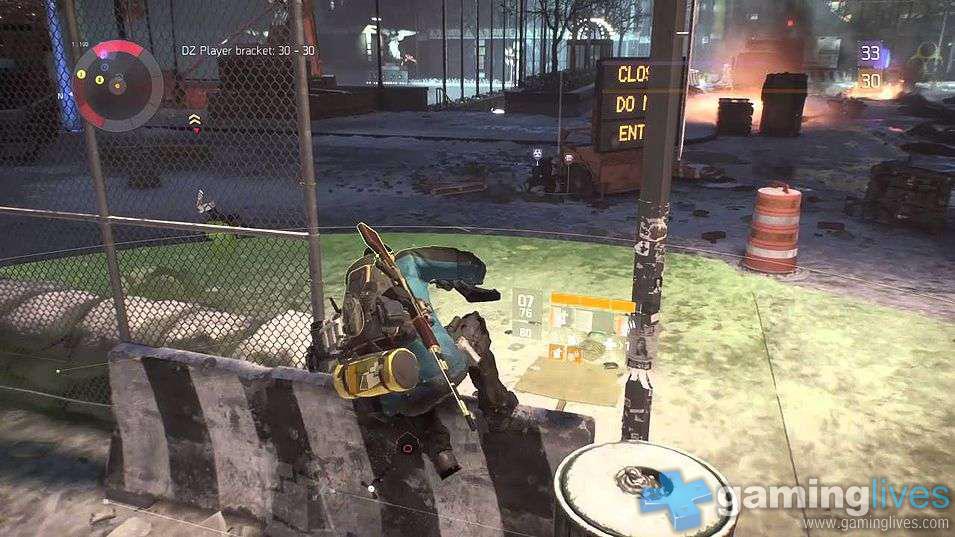
Unless you’re 100% familiar with the layout of the Dark Zone and know that you can easily survive heavily populated areas, it’s best to plan ahead rather than running in gung-ho with guns blazing. Take cover and pop your ‘Scrambler’ pulse to make sure you’re safe, then check your map to see where you want to go and how you want to get there. Place a waypoint and consider going from checkpoint to checkpoint so that you’ve got ample opportunity to recalculate your route and stock up on the all-essential ammo and medkits along the way. This will also give you a chance to examine whatever items you have in your DZ backpack and determine whether or not they’re worth hanging on to.

When it comes to the contents of the backpack, however, it’s important to strategise rather than be selective or collect any old shit. As you’re undoubtedly aware, whenever you get killed in the Dark Zone you will drop your items, but it may not necessarily be apparent that your loot drops in two separate bundles – one which is public, and a separate private drop. Anyone who was there at the time of your demise or who happens to stumble across the scene of your untimely death will be able to pick up whatever public items were dropped, but the private drop can be seen only by you. If you’re being selective over what you pick up, this split between public and private will work against you. Let’s assume you have all nine slots of your DZ backpack filled with high-end gold gear, this means that your public drop will contain only those high-end items. If you pick something up that you know for sure is worth keeping, your next step should be to create a buffer around this by picking up whatever other crap is lying around. If you’re lucky, then your high-end gear will end up in the private drop and all the detritus will become the public loot. This is all random, of course, but you have a much higher chance of hanging on to your good gear if you die and have a high volume of crap.
Once you have that opportunity to have a good look through your backpack, it’ll give you a better idea of whether it’s worth extracting or not. Even though you can’t compare contaminated items with those in your regular inventory, you’ll have a pretty good basis of comparison by switching between. There are those who prefer to run around with an empty backpack, as it gives rogues less to aim for, but the down-side to this is that anyone who does have contaminated inventory will assume that you’re on the hunt for easy loot and may worry that you’ll go rogue on them, so may attack you in advance, whereas having something in your own backpack would suggest that you too have something that you don’t want to lose, and this will lower your threat to anyone else in the same position.
 Farming In Safety
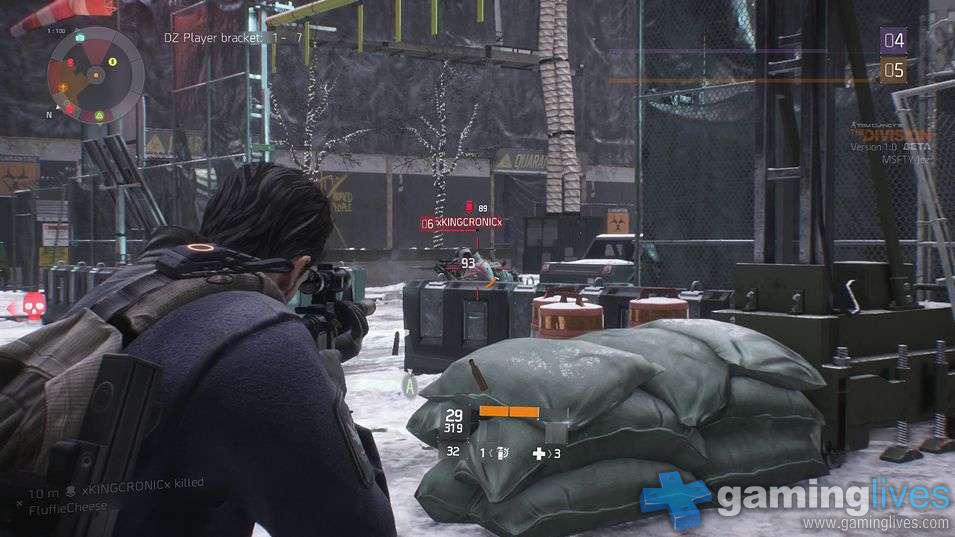
Even solo, it’s still possible to spend many hours farming whatever bosses are kicking around, although it does tend to get tougher around landmarks, and progressing beyond DZ04 isn’t advisable unless you genuinely know what you’re doing. The important thing when it comes to farming is to be aware of your surroundings, and by that I don’t necessarily mean taking cover and avoiding grenades, but more those other non-hostiles who may appear during combat. If you get caught in their crossfire, there’s a good chance you’ll die. If they get caught in your crossfire, it’s likely that you’ll end up achieving rogue status and will immediately become a target for them and any other non-hostiles around at the time.
It’s also important to remember that just because someone is non-hostile right now, it doesn’t mean they won’t go rogue at any time. Once that boss falls to the ground, your unknown allies will be able to pick up whatever loot was dropped for them, but they’re also very aware of the fact that you will have a drop of your own and the only way to make that drop available to them is if they kill you once you’ve picked it up. To that end, if you find yourself in a boss battle and other non-hostiles are around, it’s better to just leave your loot wherever it dropped and move on. Make your way to a safe house or checkpoint and stock up on everything you need, then decide whether you want to go back for it straight away or leave it until later – it’ll still be there.
Once you do go back for your loot, use your ‘Scrambled’ pulse to make sure there are no enemies around, but remember that other non-hostiles could be using the same tech as you, which means they won’t show up on your map. Two days ago I went back for a ‘teal’ loot drop at the Morgan Library, ran my pulse, saw that nobody was around and headed over to where Cannibal met his fate. The very second that I picked up my loot, I took several shots to the back of my head from someone who couldn’t possibly have got that close to me so quickly, so they must have been ducking behind cover and hiding from my pulse. In that one split-second of a screw up, I lost what could have been a decent gear piece.
I’ve only recently started to venture into the subway system, and I now wish I’d been doing it all along. I was warned off it because friends of mine were utterly obliterated by the elites dwelling below the surface and said that it was considerably more dangerous than farming above ground, but it since turns out that they were likely just caught unaware as it’s certainly not tougher. If anything, it’s easier to farm the subways as there tends to be more cover between train carriages, platforms, and various environmental pieces. I’ve also found that the subways tend to be active and are rarely cleared out, whereas the above-ground landmarks are usually already cleared or a group is already in the process of doing so. Trust me – the subways are your friend, and the DZ crates are typically active and untouched.
 Successful Extractions
First of all, it’s a ridiculous idea to go running up to an extraction point if there are enemies around. Sure, you may be lucky and be able to call in the extraction without incident, but the chances are that those troublemakers will get bored wandering around looking hard and decide to get a piece of you. If you still have plenty of ammo, medkits, and your skills are ready to go, or are far enough along their cool-down then take the enemies out so that the entire area is clear. The respawn won’t happen very quickly and, other than the few scripted stragglers who may turn up to pop a cap in yo’ ass, you’ll be mostly left untouched.
Protect yourself by either placing a safe distance between you and the point of extraction, or find suitable cover where you have a good clear view of any potential entry points. If the area has already been cleared of enemies, then the only real risk you face is from non-hostiles going rogue on you, or active rogues. If you’re extracting and a solo non-hostile comes running up with nothing in their bag, then they’re likely going to take you down and steal your loot. They’ll also likely wait until there’s only four seconds until the extraction arrives; it’s clearly coincidence, but that’s pretty much what happens whenever rogues or potential rogues turn up when I’m extracting.
If you’ve distanced yourself, then wait until five seconds before the extraction arrives before running back to it. This will give you enough time to take down any immediate enemy threats at the rope, or you could just pop your ‘Survivor Link’ signature skill to give you ten seconds of low damage and higher speeds – you’ll then have enough time to tie up the items and get a head start on running away while you still have the increased speed. If you decided to stick around behind cover, then stay there and pick anyone off who poses a threat, then run in to perform your extraction. Those who use the ‘Support Station’ with the ‘Immunizer’ mod may want to throw it down at the point where the rope drops, as this will not only heal them as they tie up the items but also protect them from shock and flashbangs from other opportunistic players.

It’s also a damned good idea to visit extraction zones when there’s no enemies around and get an idea of the layout, so that you’re familiar with the various twists and turns, where to take cover, the high ground, and any viable escape routes. It may sound ludicrous, but planning ahead and familiarity will help you stay alive. There are times when I’ve moved down from DZ04 to DZ01 to extract, primarily because I’m familiar with the layout and know the best areas to take cover from enemies and rogues. It’s also advisable to keep a couple of slots empty in your DZ backpack so that if any stragglers you happen to kill at the extraction point drop decent loot, you can pick it up without worrying about dashing into your inventory and breaking anything down.
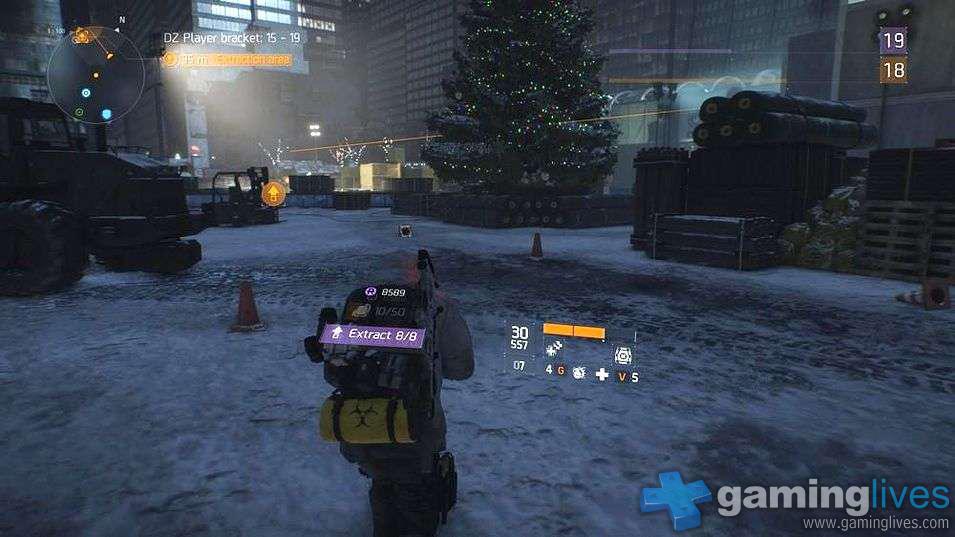
Sometimes you’ll be lucky enough to get to an extraction zone and all of the enemies have already been cleared. Don’t get complacent. If you know for sure that an extraction has just completed then there’s a strong chance that no other enemies will appear during your own extraction, but those non-hostiles now have empty backpacks, which means not only do they have nothing to lose from dying in a rogue attack, but they know that they could well walk away with everything you were hoping to extract. Even if you can’t see them, they’re probably less than a block away and can get to you before the ninety-second countdown completes.
 I’d also recommend that you choose your extraction zone wisely. Base your decision on how far up the map it is, compared with how well you can handle the enemies around those areas. Clearly, DZ01 is going to be the easiest place to extract from, but it’s also going to be pretty busy because of that same reason, so there’s a higher chance of someone going rogue on you. The place to avoid is the extraction zone in DZ02, and that main reason for that is because at any given time if there are rogues on my map, they’re hanging around the western checkpoint in DZ02. Sometimes they’ll move around, head towards the extraction zone and the screen will become filled with death notifications, but a lot of the time they’re just sitting there by the checkpoint, picking people off as they enter the Dark Zone. So if you extract from that area, you’ll either need to make your way to another exit or take your chances with the rogues camping out for kills.
Be Excellent To Each Other
Now and again, you’ll end up in the same firefight with other players, and they may end up asking you to join their game. While that immediately negates the ‘solo’ aspect of this article, it can still be a great way to spend time, as long as they’re not idiots. I’ve been lucky enough to run around the Dark Zone in a group of strangers (players from the UK, France, and Denmark) and it was a joy to run towards three separate supply drops, only to be beaten there by only a few seconds, and have the rest of my group silently understand that killing that person currently claiming the drop wasn’t the right thing to do. Not only that, but we all helped by taking out the elite and named enemies while they collected their supplies.

Given the fact that none of us were using voice chat, so everything was just instinctive, it was great to see that there really are genuine players out there. Even without joining another’s group, there are still times where other players will help you out with kills, watch your back, and even heal or revive you without hesitation. It may come across as a dark and treacherous place, and there are certainly many reasons to be mindful when darting around the dismal streets, but the Dark Zone can also be your friend if you know how to interact with it and treat it wisely. Ultimately, it comes down to risk assessment and awareness. If you’re paying attention to everything around you, and can make split-second decisions, then you can easily spend four or five hours solo with no trouble whatsoever.
This is by no means a definitive guide and just explains my own loadout and tactics for successful survival
Last five articles by Mark R
- From Acorns to Fish
- Alone In The Dark
- Why Borderlands is Better Than Borderlands 2
- Falling Short
- The Division: A Guide to Surviving the Dark Zone Solo


Hey man I just used a lot of this in a dark zone session and I lasted way longer than normal. Still get wiped by rouges until i get better weapons but it was definately a lot easier using your ideas and wasn`t quite as scary as before lol thanks
What loadout are you using in the dark zone? Is it a mix of weapons? Do you always use the same weapons or do you swap around? Thanks mate it’s a great article
Oops, sorry – didn’t see this until now!
My primary weapon is a Black Market AK-74 assault rifle, pulling in around 240,000 DPS. Can’t remember all of the talents, but I’ve got Self Preserved and Swift for sure. I think the other one is either Brutal or Prepared.
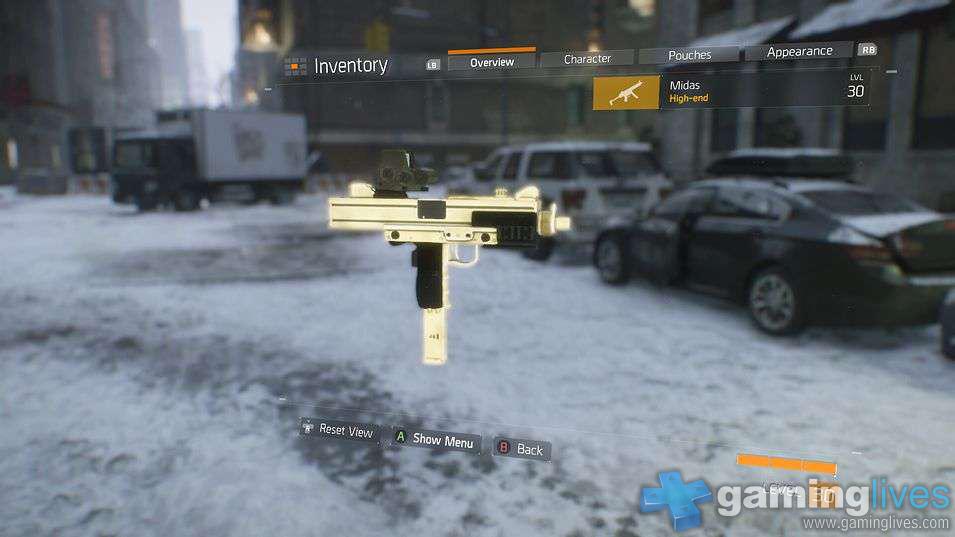
Secondary weapon is the Enhanced AUG A3P sub, which has just over 255,000 DPS. It came with Stable and Accurate, and I think the third talent is either Deadly or Vicious. That’s a fairly new addition, though, as I was using Midas before that and it was tearing through everything nicely. Once I rolled this particular AUG, however, I switched out and was really happy with how much damage it was doing.
Now and again I’ll switch out the AK for a Custom M44, depending on where I am and what I’m doing. It’s not really possible to do a crap load of damage with a sniper if it’s just you though, as the enemies tend to rush you rather than stay in position.
My talents just now are Adrenaline, Critical Save, One is None, and On The Move. I find them to be best in the Dark Zone as you get a decent overheal, good damage mitigation, ammo conservation, and it’s always best to keep moving so the On The Move talent adds to that damage mitigation if used well.